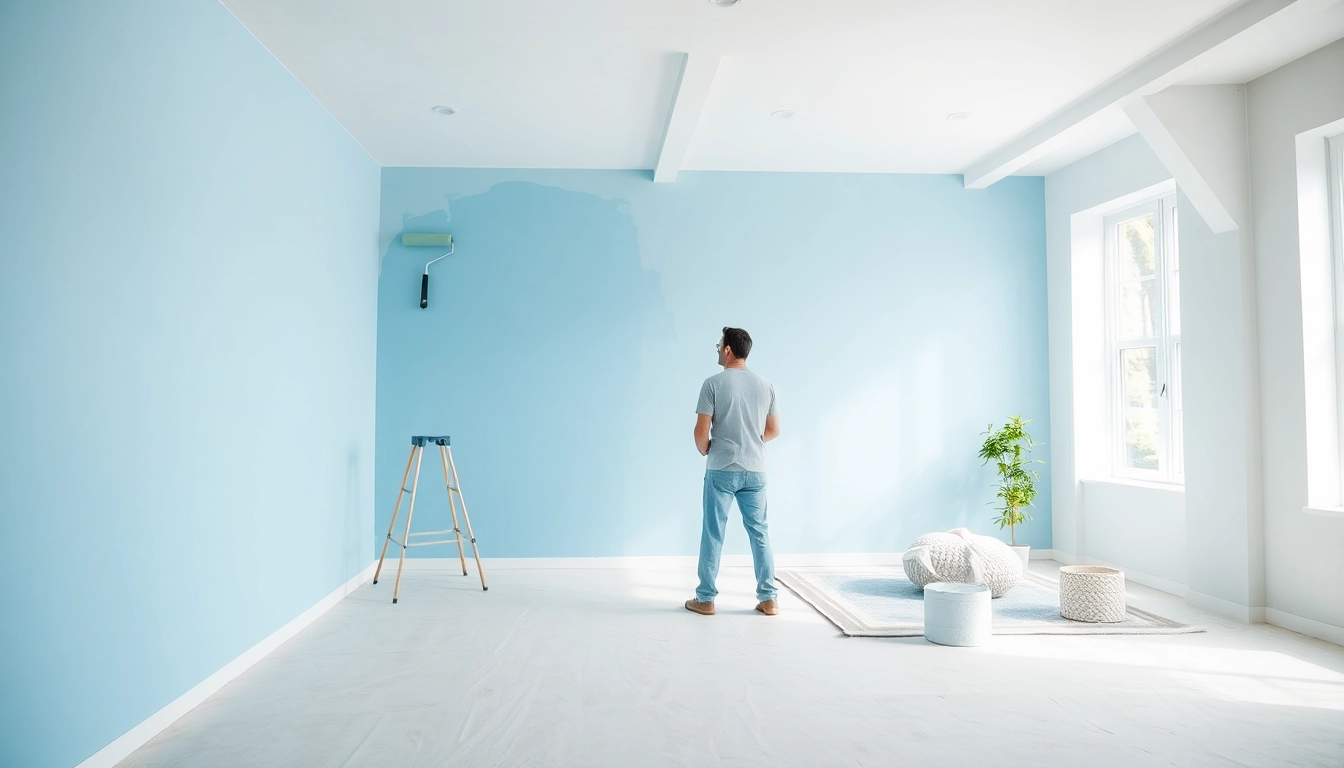
Understanding Drywall Painting Basics
Drywall painting is an essential task in home improvement, responsible for not just beautifying spaces but also protecting walls from wear and stains. Understanding the fundamentals of drywall painting can help ensure that your painted walls stand the test of time, providing both aesthetic appeal and durability. In this comprehensive guide, we explore what drywall painting entails, the tools and materials you need, as well as the different types of drywall and their characteristics.
What is Drywall Painting?
Drywall painting refers to the application of paint on drywall surfaces after they have been installed and finished. This process typically involves several steps, including preparation, priming, and painting, to achieve a professional-looking finish. The end result enhances the appearance of a room and helps to protect the drywall from moisture and damage.
Tools and Materials Needed
To successfully paint drywall, homeowners and DIY enthusiasts will need a variety of tools and materials:
- Paint: Choose between latex or acrylic paint, depending on the room and desired finish.
- Primer: Essential for preparing the surface and ensuring paint adherence.
- Paintbrushes and Rollers: Brushes for cutting in around edges and rollers for larger areas.
- Paint Tray: For holding paint while you work.
- Ladder: To reach higher walls and ceilings.
- Drop Cloths: To protect flooring and furniture from paint splashes.
- Sandpaper: For smoothing the surface of the drywall before painting.
- Masking Tape: To tape off areas you want to protect from paint.
- Cleaning Supplies: Such as soap and water for cleaning tools and surfaces.
Drywall Types and Their Characteristics
Understanding the different types of drywall is essential for effective painting. Common types include:
- Standard Drywall: Commonly used for interior walls and ceilings, it’s available in various thicknesses.
- Moisture-Resistant Drywall: Also known as green board, it’s used in bathrooms and kitchens where moisture is a concern.
- Fire-Resistant Drywall: Designed to slow the spread of fire, it’s typically used in garages and between units in multi-family homes.
- Soundproof Drywall: Useful in shared walls, its addition of sound-dampening materials helps minimize noise transfer.
Preparing Your Drywall for Painting
Proper preparation is key to achieving a flawless finish when painting drywall. Neglecting this step can lead to uneven surfaces and premature paint failure. This section outlines essential pre-painting steps you must take, the importance of primer, and common pitfalls to avoid.
Essential Pre-Painting Steps
Before you apply paint, ensure you complete the following steps:
- Clean the Surface: Dust and debris can prevent paint from adhering properly. Use a vacuum and then wipe down with a damp cloth.
- Smooth Out the Surface: Fill any holes, cracks, or imperfections with joint compound. Once dry, sand the area until smooth.
- Check for Gaps: Inspect corners and seams for gaps that might require caulk or additional joint compound.
- Prime the Drywall: Always prime new drywall before painting. This seals the surface, minimizing the risk of blotchy or uneven color.
Choosing the Right Primer for Drywall
Selecting the right primer is crucial for a successful paint job. Here are some types of primers suitable for drywall:
- Water-Based Primer: Ideal for most projects, it dries quickly and has good adhesion properties.
- PVA Primer: Great for new drywall, it’s specially formulated to seal porous surfaces.
- Shellac Primer: Best for more problematic areas, such as stains, due to its strong sealing capabilities.
Common Mistakes to Avoid
Avoid these common pitfalls to ensure a successful painting project:
- Skipping the Primer: Many DIYers skip this crucial step, leading to poor paint adhesion and an uneven finish.
- Rushing the Drying Time: Allow ample time for primer and paint to dry to prevent peeling and blotches.
- Poor Surface Prep: Inadequate cleaning or sanding can result in an imperfect finish.
- Using Low-Quality Paints: Always select high-quality paints for the best results and longevity.
Selecting the Best Paint for Drywall
Choosing the right paint similarly affects the outcome of your drywall painting project. This section reviews different paint types, sheen levels, and color selection.
Paint Types: Latex vs. Acrylic
When painting drywall, you generally have two choices: latex paint and acrylic paint.
- Latex Paint: Water-based and easy to clean, it’s suitable for most indoor applications. It dries quickly and has minimal odor.
- Acrylic Paint: While more durable, it requires more skill to apply and may necessitate professional application.
Determining Sheen Levels: Which is Best?
Sheen levels determine how light interacts with the surface of your paint. The most common sheens for drywall include:
- Flat/Matte: Hides imperfections well, ideal for low-traffic areas.
- eggshell: Offers a slight sheen and is easier to clean, suitable for most rooms.
- Satin: Great for bathrooms and kitchens due to its moisture resistance and easy cleanup.
- Semi-Gloss: Often used for trim and moldings, it reflects more light.
Color Selection for Your Space
Choosing the correct color can dramatically affect the atmosphere of your space. Considerations when selecting a color include:
- Room Size: Lighter colors can make small rooms feel larger, while darker tones can create a more intimate atmosphere.
- Lighting: Always test paint colors in the room’s lighting conditions, as colors can appear different in natural light versus artificial light.
- Room Function: Calming colors are often best for bedrooms, whereas more vibrant colors work well in playrooms or informal areas.
Step-by-Step Guide to Painting Drywall
This section provides a comprehensive, step-by-step guide to effectively painting your drywall.
Applying Primer: Key Techniques
To ensure proper application of primer:
- Use a paintbrush to cut in around edges, corners, and trim.
- Fill your roller tray with primer, then load your roller and start applying from the top down.
- Ensure you cover the surface evenly, going in one direction to avoid streaks.
- Allow primer to dry completely before applying paint.
Rolling and Brushing Techniques for Even Coverage
When painting, consider these essential techniques:
- Cutting In: Always cut in around edges with a brush before using a roller on the main wall area.
- Rolling: Use a roller for large wall surfaces to maximize coverage. A 3/8” nap roller is ideal for smooth surfaces.
- Multiple Coats: Aim for at least two coats of paint for the best results, allowing adequate drying time between coats.
- Sanding Between Coats: Lightly sand between coats once they are dry to ensure a smooth final finish.
Finishing Touches to Achieve Professional Results
Once the paint has dried, pay attention to the final details:
- Inspect for Missed Spots: Look for any spots that may have been missed during the painting process and touch them up.
- Remove Masking Tape: Carefully peel away tape while the paint is still slightly tacky to ensure clean edges.
- Clean Up: Store leftover materials properly and clean brushes and rollers for future use.
Maintaining Your Painted Drywall
Once your drywall painting project is complete, maintenance is crucial for extending the life of your paint job. This section covers effective cleaning techniques, repairs, and signs that it’s time to repaint.
Cleaning and Upkeep Tips
Maintaining your painted drywall is straightforward: follow these tips for longevity:
- Regular Dusting: Use a microfiber cloth or a feather duster to keep dust from accumulating.
- Spot Cleaning: For stains, use a damp cloth and mild soap. Always test a small area to prevent discoloration.
- Save Paint Samples: Store a small amount of leftover paint for touch-ups in the future.
Repairing Chips and Scratches
Over time, walls can get scuffed or scratched. For repairs:
- Light Scratches: Touch up with a small brush directly on the affected area.
- Chips: Use a small amount of joint compound to fill in larger chips and then sand and repaint the area.
When to Repaint Your Drywall
Knowing when to repaint can help maintain your home’s aesthetic. Signs it’s time to repaint include:
- Fading colors or discoloration from sun exposure.
- Visible peeling or bubbling paint.
- Increasing difficulty to clean stains or marks.


Leave a Reply